Building your own game console
That’s quite a sensationalist title!
![]()
I didn’t honestly set out to build a console, but it was a fun journey and I thought it would be great to share. There’s a couple learnings I would like to pass on and a couple hopes and dreams I have for the future.
Living in South Africa, I sometimes feel a little out of touch with all the cool gadgets that you can obtain overseas relatively easily and seemingly cheaply. cough Arduboy cough. Thankfully I’ve been exposed to a couple pieces of awesome hardware from some cool people, via chatting and conferences, where they sometimes give out awesome badges.
My journey started about 3 years ago when I was given an ESP8266 for almost nothing from a friend who ordered them from overseas. All you have to do is write a bit of C code, upload via USB and it can host a website!
I wrote a previous article about my earlier ESP8266 tinkerings here.
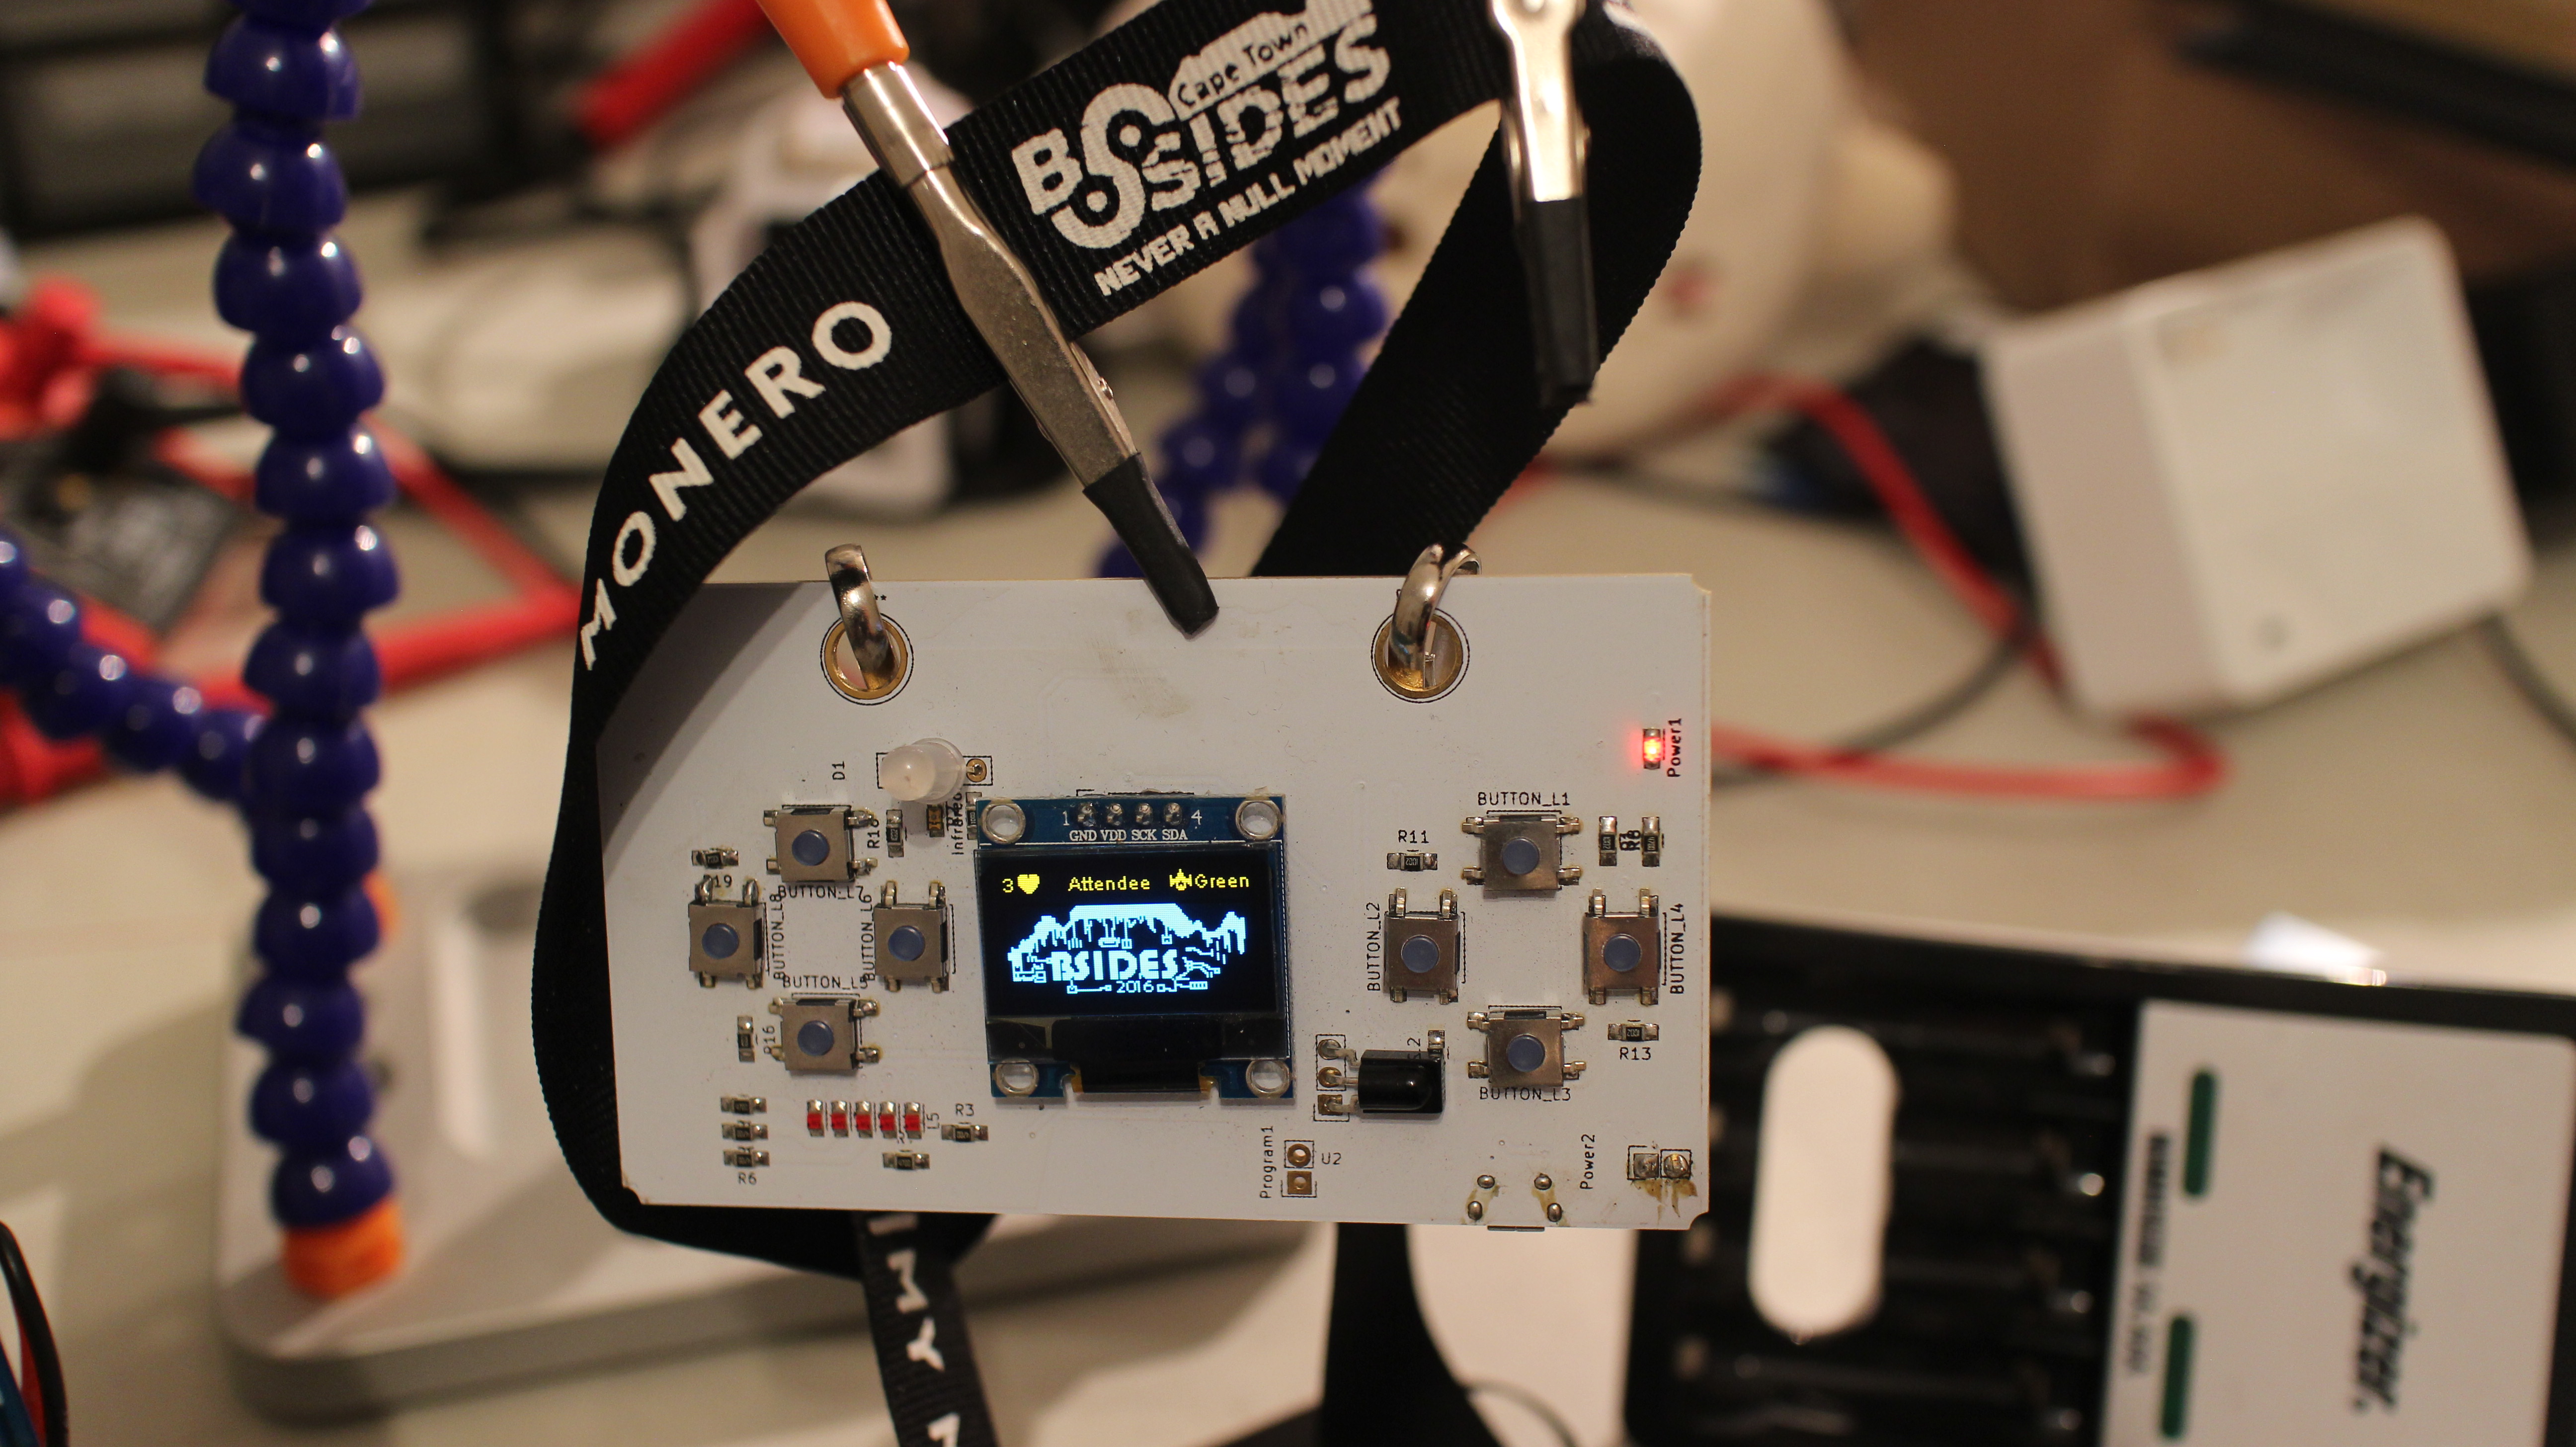
On the back of that I got the BSides Cape Town 2016 badge which had some epic hardware on it too and for the past 6 or so months I have consistently been coming back to this project.
What was I trying to do ?
Initially my goal was to write a game for the BSides Cape Town 2016 Badge.
I have always wanted to write games and for various reasons, I’ve never finished a full game, so more than anything I wanted to write the full game start to finish and release it into the wild in some form or fashion.
 Pic stolen from Andrew’s great blog post on the BSides 2016 badge
The badge was perfect for it. The ESP8266 is a great processor, the LIPO on the badge was great (well over 2 hours battery life ), the screen has a 128x64 pixel size and it has 8 buttons! There was a single caveat and a phrase I still remember, “We’re all red on the inside” which was how you remembered that the red wire of the battery goes on the inside two pin connetor or … FIRE!

I got Arduino IDE up and running, installed the required plugins (Screen and some small other libraries) did a few minor updates to get the code working on the latest versions of the library, the SSD1306 screen library had some awesome speed tweaks, saying you could now get over 60fps on it, using the BRZO I2C code which had optimised most of the code to assembler.
Sounding great! I actually got the game up and running and wrote the first part of the story. Yes, I came up with a story…
The Story
The game was going to be about the journey to DefCon. You fly a plan to the States, then to Las Vegas (Stage 1 and 2)
You drive from the Airport to the Hotel ( Stage 3 and 4)

And you then have to hunt your way through the hallways to the conference venue looking for the talk you’re meant to attend (Final Stage). Initially this was going to be a beat em up about fighting your way to the talk, but that seemed a bit violent in the end…

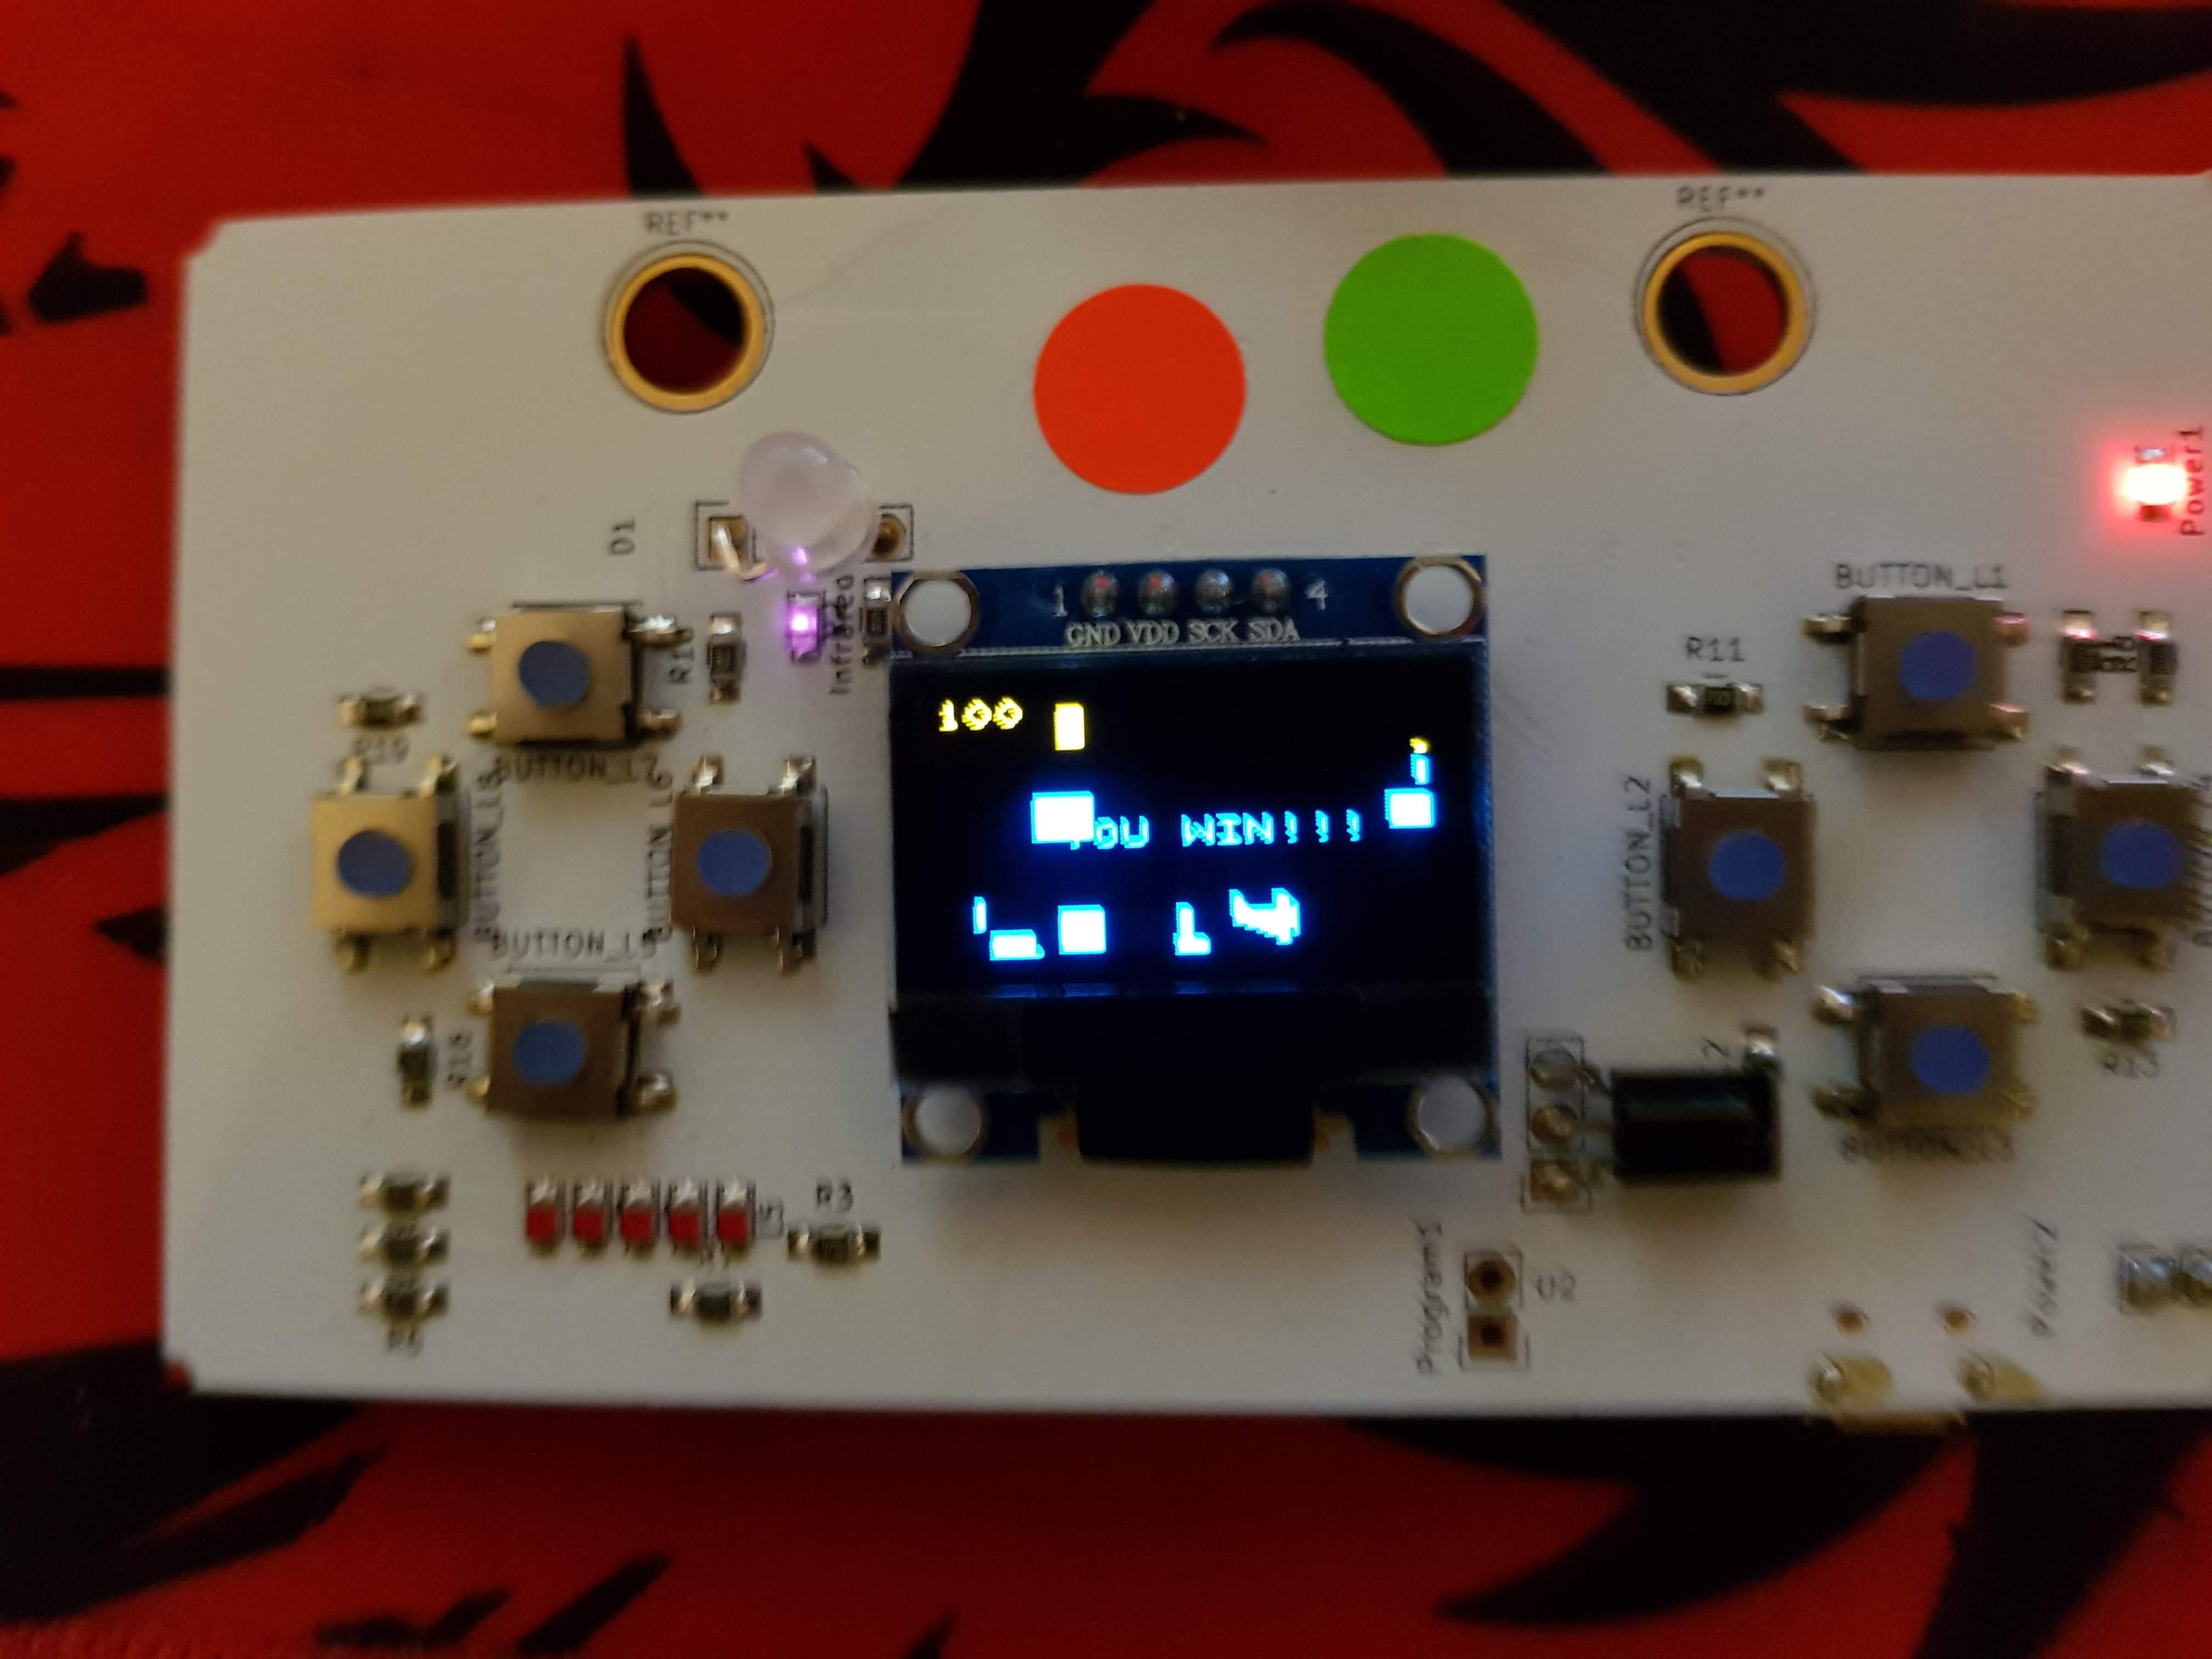
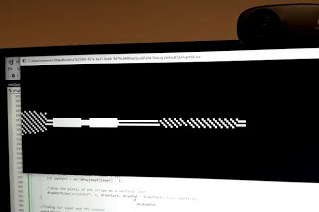
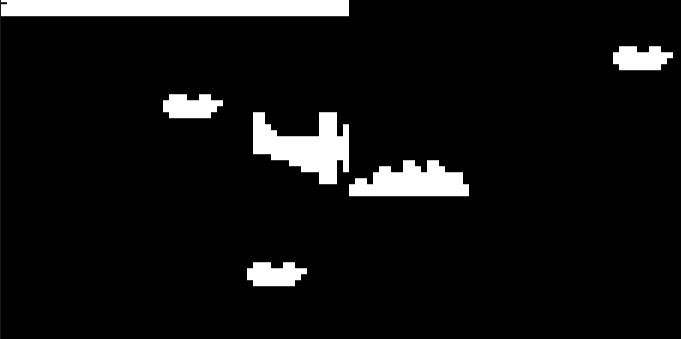
There were a couple special effects and some code I’m really proud of in there, so I’ll come around that that again, but here’s the win screen for now.

Videos will follow once I have a change to explain them all.
The whole concept sounds easy enough, and I can happily say I did complete the game to the level it deserved :P.
If you want to give it a go, it’s on this repo here. And this leads into my favourite part of the project and the continued work I’ve put into it. You can play it in a web-browser here and the maze game here, plus the voxel demo I made here.
The pivot
So after getting to a point where I liked the game quite a bit. I broke my BSides badge, very sad panda face, I had some guys help me fix it and it worked for a while again… until I broke it again. This put me on a multi path journey. I didn’t want to be without hardware again, so I would build my own and additionally, having to deploy to the badge everytime to test my current work was becoming a bit tedious, so I decided that I would write a game engine that worked on my PC as well.
Build your own badge adventure
I was happy with components of the ESP8266 and the SSD1306 screen, but I was very keen to have some sort of novetly feel to it (and I didn’t have buttons) so I researched a ton and found a way to do touch input over pencil.
 The idea was great and it looked greatm but…
I honestly spent too much time on this, but the learnings I gained were useful. I did decide to go with touch buttons hooked up to the analog signal on the ESP using digital input pins as 3.3V output drivers. Here’s a link to the original instructable I found on the topic. Then I found a way to multipliex the analog input since the ESP8266 only has one, here.
And with that I had avoided needing to buy buttons or a multiplexor chip like was on the original badge.
For power, I went with 2x AA batteries which can power the ESP8266 directly without any additional hardware.
The screen and processor slotted on nicely and with the updated libraries I was getting great frame rates on simple code.
I wired it all up on a breadboard and I was A for away
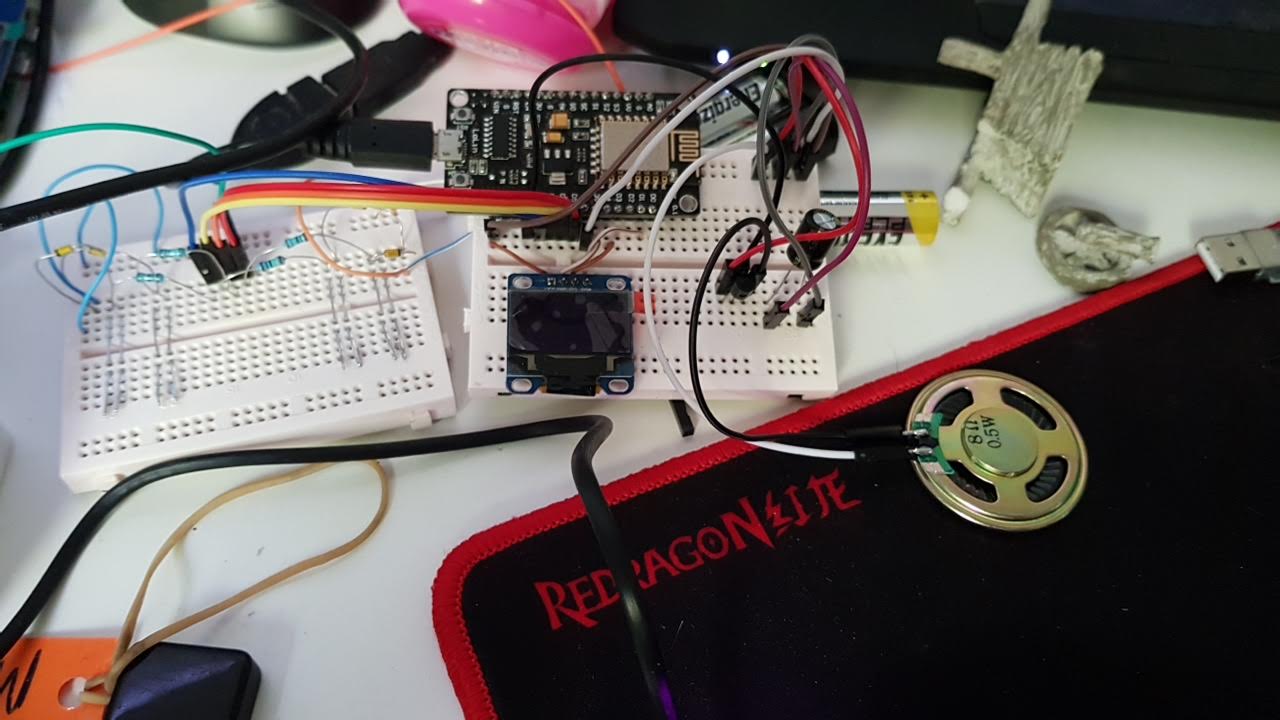 4 input buttons on the left, the screen and processor in the middle, and down right I added audio at one point!
After this I moved onto the protoboard version with a Wemos D1 Mini which was nice and small, while still having full functionality of the bigger ESP8266’s.
![]() Speakers on the back… sometimes.
Speakers on the back… sometimes.
Play it anywhere
I also decided that making this cross compile was now a goal too, so that I could write and test the code on my desktop computer and then do slightly less vigorous testing on the device and a little less often too, to tighten my own internal feedback loop.
Brett Victor gave an amazing talk on [Inventing on Principle ](<iframe width="560" height="315" src="https://www.youtube.com/embed/8QiPFmIMxFc" frameborder="0" allow="accelerometer; autoplay; encrypted-media; gyroscope; picture-in-picture" allowfullscreen></iframe> )a few years back and I always keep it in mind.
So I worked through it piece by piece and got the code to compile on the
Windows Console
 Running Maze Runner on Windows in a Console Window
Then the Linux Console
 Running the Matrix code in a Linux Console
Then SDL
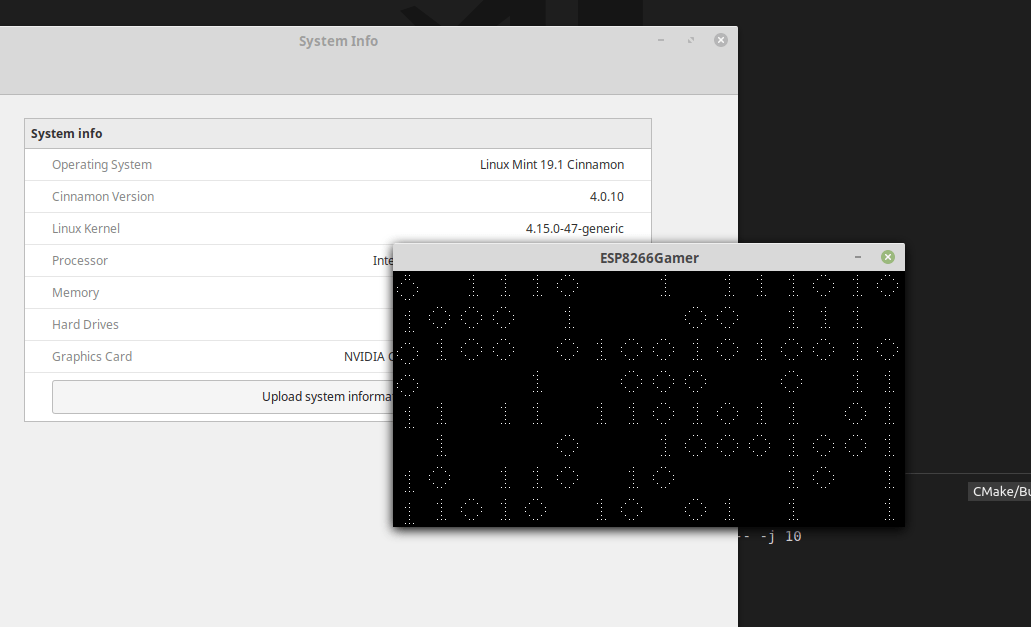 Running the Matrix code via SDL2 on Linux
Once I had SDL up and running, I realised that Emscripten worked with that so I did some small code updates for that too, and that got me the engine running in a Web-browser. (Up, Down, Left, Right on keypad and WASD on rest of keyboard for input)
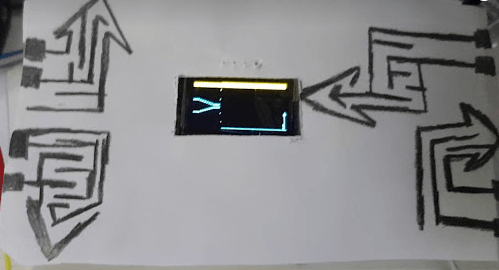
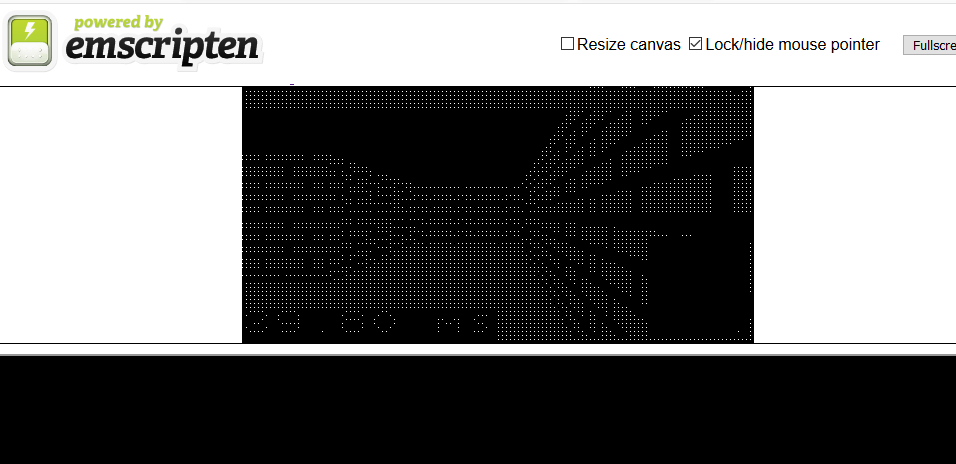 Maze game in a Web Browser
That was an amazing experience as getting the code working on all those platforms made me really thing at what needed to be abstracted and where.
The biggest items were input, timing and output, for which I built seperate parts of the code for into the Platform specific files and for things which were platform dependant, I used CMAKE to be able to build different libraries and code on different platforms.
 CMake Logo
For the ESP8266 there was a lot of issues performance wise without it having a FPU (Floating point unit) and wanting to do precise maths.
This affected the RotoZoomer , maze game and voxel demo.
I took a few hints from Michael Abrash’s Graphics Programming Black Book and implemented Fixed Point maths, which essentially means you fake maths with decimals using only decimal numbers ( and bit shifting )
Mowr Pivot ?
I decided to document the process and build out a gaming platform similar to the Arduboy and release it with it’s much more accesible components (to me).
And thus was launched ESP8266 Game On
![]()
I refactored all the games to be a single theme and they sit on their own branches.
As of this writing there are all the original game elements as seperate games
Driving, Flying, the RotoZoomer and the Maze
And as the new flagship title I implemented my own from scratch game Asteroid!
ESP8266 Game Engine Asteroid! in play
What features does the game engine have
Multi-platform (Windows, Linux, SDL, HTML5 and ESP8266)
The code runs on all the above listed platforms. Catering to the main loop, the timing, display, input and audio
Pixel Perfect Collision Detection
Since the sprites are basically bitmasks, you can double up their usage as a mask for pixel perfect collision detection in game, the code uses bounding box checks first, then pixel checks if the bounding box is breached for great performance.
Fixed Point Maths
To get great performance of complex decimal calculations for some of the features below, I impelemented my own library to help with these calcs.
It does some basic trig and multiplication and division, it’s all done in mind with the ESP8266, but it does work cross platform.
Rotational Effects
Think Super Nintendo Mode 7 type effects. Zooming and rotating sprites. The asteroids and ship in Asteroid! are only rotated, not animated per se.
Powerfull Hardware platform
The ESP8266 is surprisingly powerful, able to play tech demos like Wolfenstein mazes and Voxel landscapes, when used directly.
Built in Font Engine
There is a built in font with help functions, specifically built for the screen size
 -= Asteroid! =-
Text scrolling helper
Nice easy way to get your story on screen and going. See the full video of BFlight below.
Fully Open-Source
All the code is available online here
Access to a few complete samples
There are a samples for a few common game types, and the raycaster engine I built for the maze game is quite flexible.
Where to from here ?
I am quite happy with the outcome of this project, but I’d like to complete the loop on adding audio, it’s built into the code base already, but I need to do the reference hardware design and build a game with it in mind.
There is still a feature list for things I’d like to add, such as saving scores onto the SPIFFS and not losing them between game installs.
Multiple games on the SPIFFs would be nice and could be doable with a SPIFFs flasher integration.
Some sort of platformer game would be really nice to do, it’s on my todo list for later to flesh out the engine around handling maps and sprites.
And finally I am looking at putting more reference design documentation toghether and building a few more games to flesh out the engine’s functions.
I think it’s at the point where I can gauge community interest in a project like this and get feedback to help drive a course forwards.